
We will start with the Gown tutorial first. Some of the steps for the gown and sleeper are the same. If you want the pattern please see this website Teeny Tears. They will be uploaded there in the near future. A soft knit fabric works best for the gown, hat and sleeper.
Gown Instructions
1. Cut out 1 front piece, 2 back pieces and 2 sleeves from your fabric.2. With right sides together sew center back seam up to wear the facing begins.

3. With right sides together sew sleeves to front and back pieces at the four shoulder seams.

4. Hem or add ribbing to the neck line. (I recommend adding ribbing because they are so tiny, making hemming difficult. You can make your own out of the same fabric by cutting a 1 1/2 inch wide strip of fabric. Fold each side in 1/4 inch and then fold in half. Place neck edge into the fold of the strip and topstitch down.) Fold the facings in while hemming or ribbing.


5. Hem sleeves.

6. With right sides together sew underarm/side seams. Clip at pivot. On one side leave a small 1/2 inch opening in the side seam about 1 1/2 inches from the bottom of the gown. (This is where the ribbon will go later)
 |
| Example of opening left for the ribbon. |
|
| Sew side seams where pins are. |
Note: When applying velcro make sure the "rough" side of the velcro is facing out away from the body. These babies have skin that is very fragile and we don't want anything "scratchy" touching them.

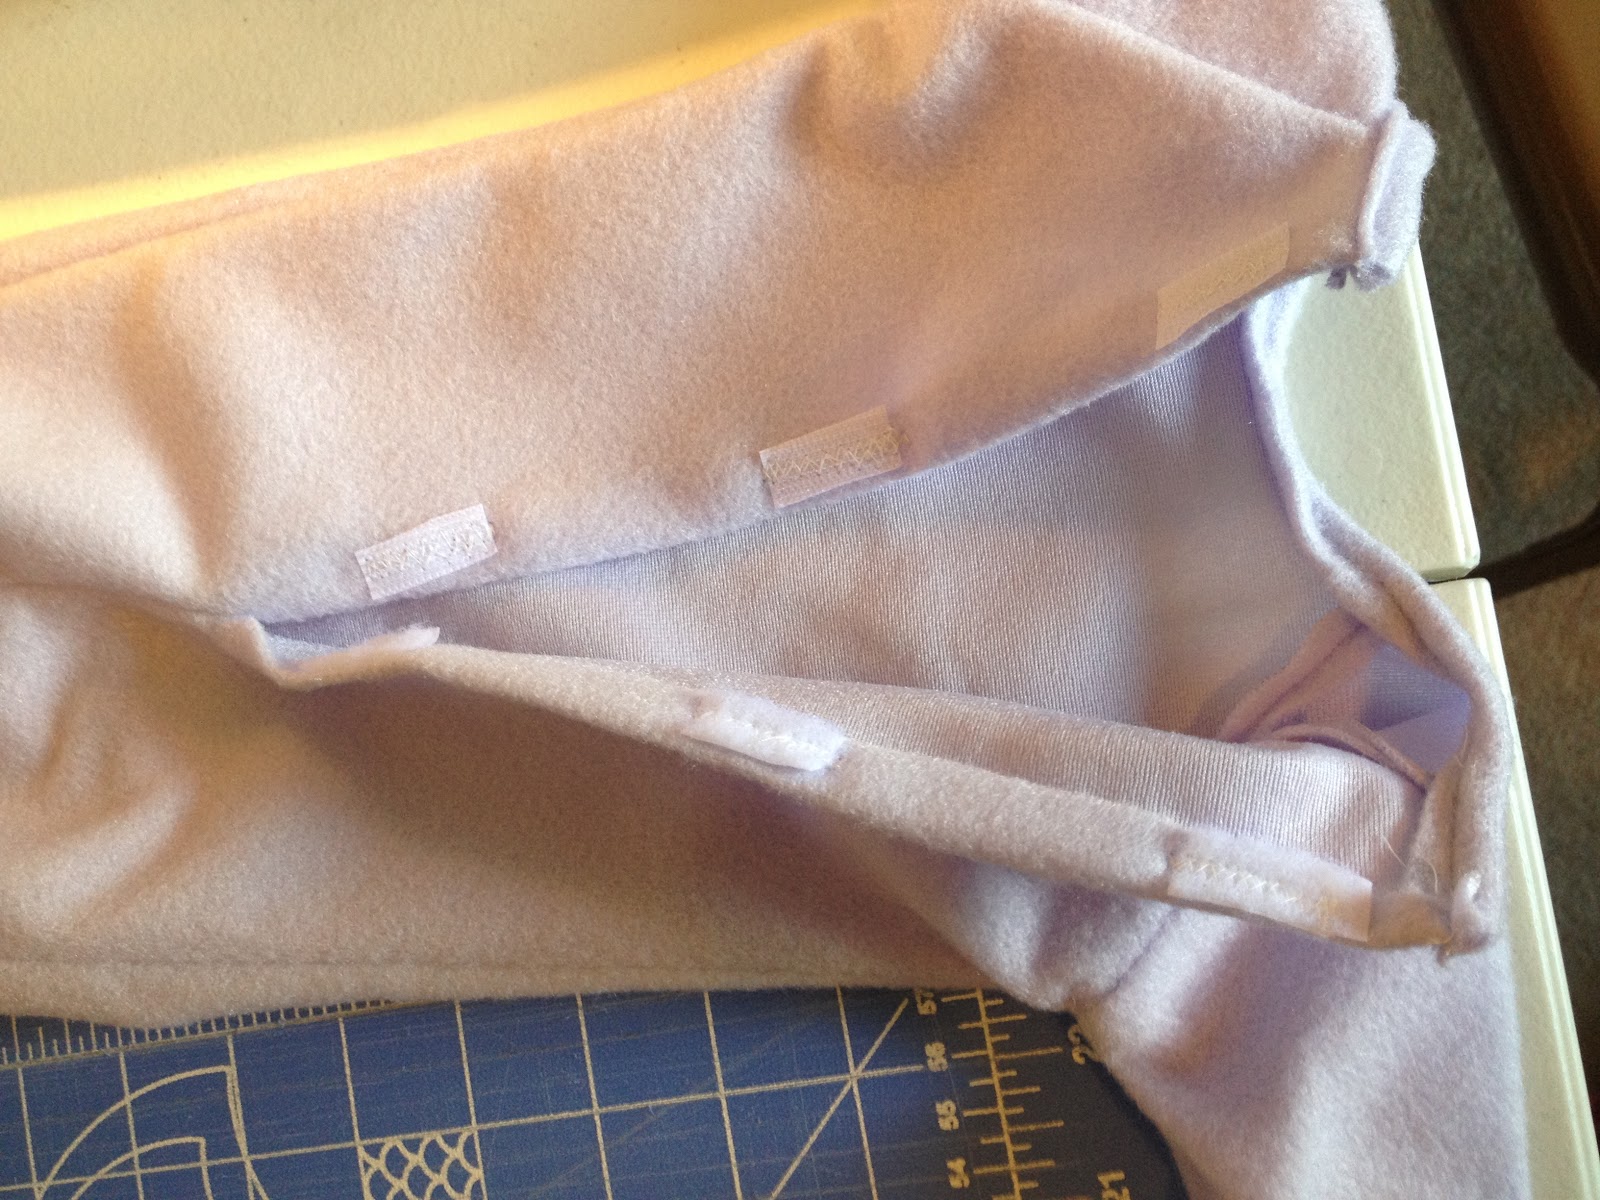 |
| I use a wide zig zag stitch to attach the velcro. |

 |
| Sorry the pictures are sideways. I couldn't get them to rotate. |
Sleeper Instructions
1. Cut out 2 back pieces, 2 front pieces and 2 sleeves.


2. Sew center back and center front crotch with right sides together. Leave opening open (where facings start).
 |
| For center back sew from neck line and stop where the upslope stops. |
 |
| For center front all you sew is where the curve is in the crotch area. |
3. Sew sleeves to the front and back pieces at 4 shoulder seams with right sides together.

4. Hem or add ribbing to the neck. (see the note above about ribbing) Fold the front facings in as you are hemming or adding ribbing.

5. Hem sleeves.

6. With right sides together sew underarm, side seam, inseam, side seam and underarm. Clip at curves. Turn right side out. While sewing these seams fold up the back of the foot at the fold to line to create the heel. Pin in place and sew side seams to secure.


7. Apply velcro closure to the facings. You could use buttons or snaps also but the velcro seems to work well. See Note above for tip on applying velcro.

Added Disclaimer: The patterns that will be posted on the Teeny Tears websites I designed by looking at and then altering common sleeper/gown patterns. The facing on most of the patterns I could find is perfect for a full size baby but when you make them smaller and smaller it became almost non-existent, therefore I made it larger on my patterns. I tried to make the opening large enough that dressing these tiny little ones would be feasible but that the clothes would still look like traditional baby clothes. The gown is probably easier to put on a tiny baby and could even be altered to where the facing extends to the bottom of the gown on the back with velcro closures all the way down (instead of a seam part way down with opening only half way) so that there is no pulling it over their legs or head. I purposefully placed the gown closure in the back to allow it to look more like traditional baby clothing.


